

I’ve been tweaking Windows 10 for years, and one thing I always come back to when things start to slow down is how to Increase Virtual Memory in Windows 10. It’s not a magic bullet, but it can seriously breathe new life into an older system, or help a newer one handle demanding tasks. I’ve gone through the frustration of crashes, the annoyance of lag, and the confusion of what virtual memory even is. So, let’s break it down, step-by-step, and get your system running smoother.
Table of Contents
What is Virtual Memory & Why Increase It?

For years, I struggled with understanding why my computer would slow to a crawl when running multiple programs. It wasn’t until I dug into virtual memory that things started to click.
Understanding RAM and its Limitations
Think of RAM (Random Access Memory) as your computer’s short-term memory. It’s where your computer stores the data it’s actively using. The more RAM you have, the more things your computer can do at once without slowing down. But RAM isn’t unlimited. And that’s where virtual memory comes in.
What is Virtual Memory (Paging File)? – A Simple Explanation
Virtual memory is essentially using a portion of your hard drive (or, ideally, your SSD) as an extension of your RAM. It’s called the “paging file” (often pagefile.sys) because Windows moves less frequently used data from your RAM to this file on your drive, freeing up RAM for the programs you are actively using. It’s not as fast as RAM, but it’s a lot better than running out of RAM altogether.
When Should You Consider Increasing Virtual Memory? (Signs Your System Needs More)
I’ve learned to recognize the telltale signs. If you’re experiencing any of these, increasing your virtual memory is worth a shot:
- Frequent System Slowdowns: Programs take ages to open, everything feels sluggish, and even simple tasks become frustrating.
- Application Crashes & Errors: Especially when running demanding software like games, video editors, or graphic design programs. I used to get constant crashes in Photoshop until I adjusted this.
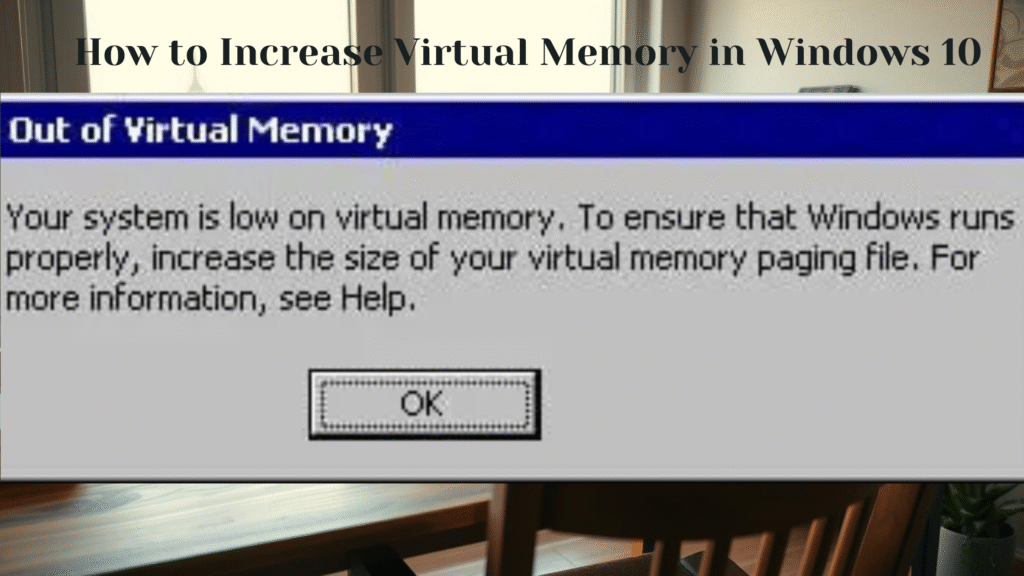
- Low Memory Warnings: Windows will sometimes display a notification saying “Your computer is low on memory.” This is a pretty clear sign!
Before You Begin: Assessing Your System
Before you start messing with settings, let’s get a baseline understanding of your current setup.
Checking Your Current RAM Capacity
Press Windows Key + R, type msinfo32, and press Enter. This opens System Information. Look for “Installed Physical Memory (RAM).” Knowing this number is crucial. I have 16GB, which is decent, but even with that, virtual memory helps.
Checking Available Disk Space (HDD vs. SSD Considerations)
Press Windows Key + E to open File Explorer. Right-click on your C: drive (or the drive where Windows is installed) and select “Properties.” Look at “Free space.” You’ll need enough free space to create a larger paging file.
- Why SSDs are Preferred for Virtual Memory
This is huge. If you have an SSD (Solid State Drive), that’s where you want your paging file. SSDs are much faster than traditional HDDs (Hard Disk Drives). Using an SSD for virtual memory significantly reduces the performance penalty of using disk space as RAM. I upgraded to an SSD a few years ago, and the difference was night and day. If you’re still on an HDD, consider upgrading – it’s the single biggest performance boost you can get.
Understanding 32-bit vs. 64-bit Windows Limitations
This is less of an issue these days, but it’s good to know. 32-bit Windows has a much lower virtual memory limit than 64-bit Windows. If you’re running 32-bit Windows, increasing virtual memory might not make a huge difference. Most systems are 64-bit now, but it’s worth checking in System Information (same as checking RAM).
Step-by-Step: How to Increase Virtual Memory in Windows 10
Alright, let’s get to the good stuff. Here’s how to actually increase your virtual memory.
Method 1: Adjusting the Paging File Size Automatically (Recommended for Most Users)
This is the easiest and safest method. Windows will automatically manage the size of the paging file based on your system’s needs.
- Accessing System Properties (Control Panel & Search)
There are a couple of ways to get there. You can search for “Advanced system settings” in the Windows search bar, or go to Control Panel > System and Security > System > Advanced system settings.
- Navigating to Performance Options
In the System Properties window, go to the “Advanced” tab. Under “Performance,” click “Settings.”
- Selecting “Let Windows Manage Paging File Size for All Drives”
In the Performance Options window, go to the “Advanced” tab again. Under “Virtual memory,” click “Change.” Uncheck “Automatically manage paging file size for all drives” temporarily. Then, check it again. This forces Windows to re-evaluate and optimize the paging file size. Click “OK” on all windows and restart your computer.
Method 2: Manually Setting a Custom Paging File Size (Advanced Users)
This gives you more control, but it requires a bit more knowledge. I only recommend this if you know what you’re doing.
- Determining an Appropriate Initial and Maximum Size
A common rule of thumb is to set the initial size to 1.5 times your RAM and the maximum size to 3 times your RAM. For example, if you have 8GB of RAM, set the initial size to 12GB (12288MB) and the maximum size to 24GB (24576MB). However, don’t just blindly follow this rule. Consider your usage patterns and available disk space.
- Selecting “Custom Size” and Entering Values
In the Virtual Memory window (accessed as described above), uncheck “Automatically manage paging file size for all drives.” Select the drive where you want to create the paging file (usually C:). Select “Custom size” and enter your desired initial and maximum sizes in megabytes (MB).
- Setting the Paging File Size on Multiple Drives (If Applicable)
If you have multiple drives, you can create a paging file on each one. However, I generally recommend keeping it on your fastest drive (usually your SSD).
Applying Changes and Restarting Your Computer
Click “Set,” then “OK” on all windows. You’ll be prompted to restart your computer for the changes to take effect. Don’t skip the restart!
Optimizing Virtual Memory for Performance
Increasing virtual memory is just the first step. Here’s how to get the most out of it.
The Impact of Paging File Location (HDD vs. SSD)
We’ve already touched on this, but it’s worth repeating: put your paging file on your SSD if you have one. The speed difference is significant.
Defragmenting Your Hard Drive (For HDD Users)
If you’re still using an HDD, defragmenting it can help improve performance. Windows has a built-in defragmentation tool. Search for “Defragment and Optimize Drives” in the Windows search bar.
Monitoring System Performance After Increasing Virtual Memory
Let’s see if it actually made a difference.
- Using Task Manager to Track Memory Usage
Press Ctrl + Shift + Esc to open Task Manager. Go to the “Performance” tab and monitor your memory usage. You should see less RAM being used overall, and fewer instances of your system hitting 100% memory usage.
- Observing Improvements in Application Responsiveness
Pay attention to how your applications feel. Are they opening faster? Are they less prone to crashing? Are things generally smoother?
Troubleshooting Common Virtual Memory Issues
Sometimes things don’t go as planned. Here’s how to fix common problems.
Paging File Not Working After Increasing Size
- Restarting Your Computer: Seriously, try restarting. It often fixes things.
- Checking for Disk Errors: Run the chkdsk command to check for and fix disk errors. Open Command Prompt as administrator and type chkdsk /f /r C: (replace C: with your drive letter).
Insufficient Disk Space Error
- Freeing Up Disk Space: Delete unnecessary files, uninstall unused programs, and empty your Recycle Bin.
- Moving Large Files to Another Drive: If you have another drive, move large files (like videos or photos) to it.
System Still Slow After Increasing Virtual Memory
- Considering a RAM Upgrade (The Best Solution): Virtual memory is a workaround, not a replacement for RAM. If you’re still struggling, upgrading your RAM is the best long-term solution.
- Checking for Malware or Viruses: Run a full system scan with your antivirus software. Malware can consume system resources and cause performance issues.
Advanced Considerations (Use with Caution)

Modifying Virtual Memory Settings via the Registry Editor (Regedit) – Disclaimer: Advanced Users Only!
I strongly advise against this unless you’re comfortable with the Registry Editor. Incorrectly modifying the registry can cause serious system problems. If you must use Regedit, back up your registry first! I won’t provide specific instructions here because it’s too risky for most users.
Understanding Virtual Address Space
This is a more technical concept. Virtual address space is the total amount of memory that a program can access. Increasing virtual memory expands the virtual address space, allowing programs to use more memory.
Conclusion: Is Increasing Virtual Memory a Long-Term Solution?
Increasing virtual memory can be a helpful temporary fix, especially if you’re running low on RAM. It’s a relatively easy and inexpensive way to improve system performance. However, it’s not a substitute for having enough RAM. If you’re consistently running into memory issues, upgrading your RAM is the best long-term solution. I’ve tried it all, and trust me, more RAM is almost always the answer.
check out other article on our website
Resources for Further Learning
Frequently Asked Questions: Increasing Virtual Memory in Windows 10
Here are answers to some common questions about increasing virtual memory in Windows 10, based on my experience and what people often ask.
Q: What exactly is virtual memory, and why would I need to adjust it?
Think of your RAM as your computer’s short-term memory. When it fills up, Windows uses a portion of your hard drive (or SSD) as a temporary extension of that memory – that’s virtual memory. Adjusting it can help improve performance if you’re running out of RAM, especially when using demanding programs.
Q: How do I adjust virtual memory in Windows 10?
It’s pretty straightforward! Search for “Advanced system settings” in the Windows search bar, go to the “Performance” options, and then click “Change” under the “Virtual memory” section. From there, you can let Windows manage it automatically or set a custom size. (See the article for detailed step-by-step instructions!)
Q: Should I let Windows automatically manage my virtual memory, or set a custom size?
For most users, letting Windows manage it automatically is the best option. It’s the easiest and generally does a good job of optimizing the size based on your system’s needs. If you’re an advanced user and know what you’re doing, you can try setting a custom size, but be careful!
Q: How much virtual memory should I set if I choose to adjust it manually?
A common recommendation is to set the initial size to 1.5 times your RAM and the maximum size to 3 times your RAM. For example, if you have 8GB of RAM, you might set the initial size to 12GB and the maximum to 24GB. However, this isn’t a hard and fast rule – consider your available disk space and how you use your computer.
Q: I’m running Windows 10 on an SSD. Should I still adjust virtual memory?
Absolutely! In fact, it’s more important to have a properly configured virtual memory on an SSD. SSDs are much faster than traditional hard drives, so using them for virtual memory will significantly reduce the performance impact.
Q: I’ve increased my virtual memory, but my computer is still slow. What’s going on?
Increasing virtual memory is a good first step, but it’s not a magic bullet. If you’re still experiencing slowdowns, consider upgrading your RAM. Virtual memory is a workaround, not a replacement for having enough physical RAM. Also, check for malware or defragment your hard drive (if you’re not using an SSD).
Q: Can expanding virtual memory actually hurt my computer?
Not usually, but setting the virtual memory too high can waste disk space. More importantly, incorrectly modifying system settings (like through the Registry Editor) can cause problems. Stick to the recommended methods in the article, and you should be fine.
Q: How do I change virtual memory in Windows 10 if I have multiple drives?
You can set a paging file on multiple drives, but I generally recommend keeping it on your fastest drive – usually your SSD. When adjusting the settings, you’ll see a list of available drives to choose from.
Q: What’s the difference between adjusting virtual memory in Windows 10 and increasing virtual RAM? Are they the same thing?
They’re essentially the same thing. “Virtual RAM” is often used interchangeably with “virtual memory” – they both refer to using disk space as an extension of your RAM.
Q: I’m using Windows 10 on a laptop. Will increasing virtual memory affect my battery life?
Potentially, yes. Because the system might be accessing the hard drive more frequently, it could slightly reduce battery life. However, the impact is usually minimal.
Q: Where can I find more information about virtual memory and Windows 10 performance?
Check out the official Microsoft Support website for detailed information and troubleshooting guides. (Link to Microsoft Support articles here).